
In this article, we are going to show you How to Install MacOS Mojave 10.14 on VMware on Windows.
On 4th June 2018, Tim Cook the CEO of Apple announced a new operating system of Mac which is called macOS 10.14 Mojave. After macOS high Sierra has been too popular, MacoS Mojave 10.14 has many cool features so This time Apple has decided to focus more on its services and chosen a name from a desert instate of a mountain.
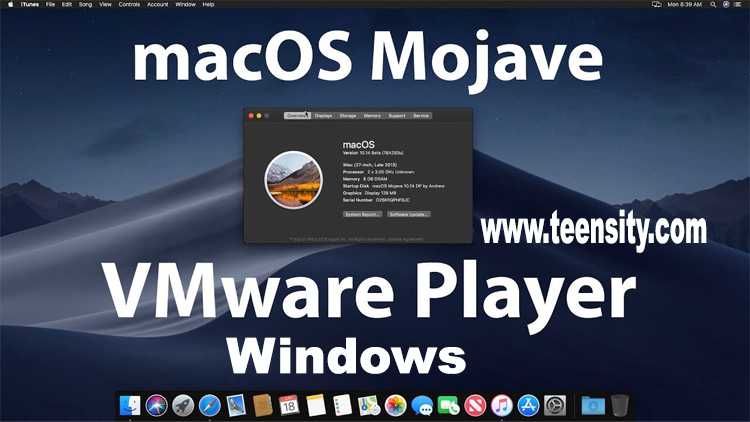
Install MacOS Mojave 10.14 on VMware on Windows
MacOS 10.14 Mojave have new features which include the New Dark Mode which every mac users were asking for. The main changes on macOS 10.14 Mojave is the Dark Mode, a Live background which changes according to the date, Major updates on finder, News, Stocks, Voice Memos and Home, Group FaceTime, All-New Mac App Store, Sneak Peek of Developer Framework for Mac Apps and etc
The best news about this new OS is that the 10.14 can be installed on VMware in Windows. All you need is the VMware workstation player and you can run the macOS Mojave on your Windows PC.
Download Required Files to Install macOS Mojave 10.14 on VMware on Windows 10
Install macOS 10.14 Mojave on VirtualBox on Windows
Step to Install macOS Mojave 10.14 on VMware on windows
When you want to install macOS Mojave on VMware, you need to extract the file with WinRAR or 7zip, macOS Mojave 10.14 VMDK file, VMware Workstation/Player. All the essential files are listed below
System Requirement
- 2 GB Minimum memory
- 2 cores Minimum of processors
- 20 GB Hard disk space
- 256 MB Graphics memory
- Intel or AMD VT (Virtualization Technology)
- VT (Virtualization Technology) Should be enabled from BIOS setup
Step #1. Extract the macOS Mojave 10.14 Virtual Image.
When you want to create MacOS Mojave 10.14 on Mac system, You need to compress the file because the size is 15GB, When you Compress or zip it. the size will be 5 GB.
You need Winrar for the extraction of the file.
Step #2. Download and Install the VMware Workstation Player
You need to use VMware workstation pro and it is not free, you have to buy it. but it sounds good that VMware also provides a sneak peek of Vmare workstation pro features in VMware Workstation Player.
Vmware Workstation Player is free virtualization software which you can install macOS Mojave 10.14 on Vmware on Windows for free
Step #3. Enable Apple Services on VMware Workstation Player
VMware on windows cannot support Mac System when you want to use macOS Mojave 10.14 on Vmware on Windows. You need to enable the apple service for workstation Player.
To active Apple service for Vmware on Windows first, download and install the unblocker tools or unblocker master. First extract the file after downloading, after that find the Win- install.cmd from unblocker master directory, then right click and select Run as Administrator
Step #4. Create a Virtual Machine on VMware Workstation Player
For Install and Use macOS Mojave 10.14, you need to create a virtual machine.
- Open the Vmware Workstation Player and select create a new Virtual machine.
- Select I will Install the Operating system later.
- Apple Mac OS X with 10.14 version and click next.
Step #5. Name and Specify Disk Capacity for Virtual Machine.
- You should give a name and verify a location for Virtual Machine for further you have to add a code in Virtual Machine, the path has to be remembered.
- After that, you have to specify the amount of storage for the macOS Mojave 10.14 and select the store virtual Disk as a single file.
Step #6. Customize Hardware for Virtual Machine
- When you specified the amount of disk, the next step which is ready to create a Virtual Machine, select customize Hardware.
- Change the amount of RAM from 2 GB to 4 GB or More.
- Change the amount of Processor from 2 to 4 processors.
- Visit the Display tab and enable the accelerate the 3D graphics.
Once you followed all steps then close the Hardware window, and you will be back to the ready to create a Virtual Machine window.
You have to select Finish that the macOS Mojave Virtual Machine should be created
Step #7. Adding macOS Mojave 10.14 VMDK File to Virtual Machine
When you created the virtual machine, but yet it does not contain the macOS Mojave 10.14 Operating system. To add the macOS Mojave 10.14 VMDK File to Virtual Machine,
- First, select Edit Virtual Machine Settings.
- Second, select the Hard Drive on the Virtual Machine settings and remove the Hard Drive.
Once the Hard Drive is removed, instead you need to add the macOS Mojave 10.14 VMDK.
- you need to select Add.
- Then, Select Hard Disk.
- Select SATA, For the Disk Type.
- After you need to select use an existing Virtual Disk.
Once you selected to use an existing Virtual Disk, then verify the macOS Mojave location.
- Click Browser and locate the MacOS Mojave 10.14 VMDK file.
Step #8. Edit the VMX File.
you have successfully installed VMware Workstation Player though Unlocker to enable the mac services in windows. And created the Virtual machine plus added the macOS Mojave 10.14 to the Virtual Machine. then you need edit VMX File for installing the MacOS Mojave 10.14,
VMX if the configuration file of the created Virtual Machine, if you remembered I said to remember the path because further, we will apply a code to it.
- Open created Virtual Machine Directory.
- After that right click on the VMX file and select open with Notepad.
- Then, Scroll down to the end of VMX and add paste smc.version = “0” code.
- When you pasted the code, save the changes.
Step #9. Install macOS Mojave 10.14 on VMware Workstation Player on Windows 10
- First Open the VMware Workstation Player then Power on the macOS Mojave 10.14.
- Wait for Some seconds until the apple logo goes away.
- On the Welcome screen, select your country and select continue.
- Select your Keyboard layout.
- Select, don’t transfer any information type and click continue.
- Decide to sign in with Apple ID or Not.
- Agree to the terms and conditions.
- Create an Account for the macOS Mojave 10.14.
- Choose a look for your Mac Device, whether it is the light mode or Dark Mode.
- Select Continue on the Express Set up window.
- Wait for Some seconds until your Mac is set up for use.
Conclusion:
You have successfully Installed macOS Mojave 10.14 on VMware on Windows. mostly it is about Windows 10 and I hope it was helpful and wish you that you have recovered all of your memory stuff. If you face any problem or have any suggestion please leave a comment on the comment box.
macos 10.14 Mojave for VMware mac os Mojave VMware download macos Mojave by techsviewer macos Mojave Virtualbox macos Mojave vmdk file Mojave VMware fusion macos Mojave VMware fusion install Mojave Hackintosh